Crochet Blanket Borders
What is a blanket without the perfect border? Whether you need something simple or minimalist to avoid detracting from a complex design, or something fancy to glam up a more detailed design, a great border is a must!
Borders come in all shapes, sizes, and complexities, so there is something to match every style. It doesn’t matter whether you’re a crochet beginner or you’ve been doing this for years, there is always a new border to try out! Check out my collection of border ideas below and polish off your blanket today 😁.
But why are blanket borders so important?
You may not know it, but they serve several purposes:
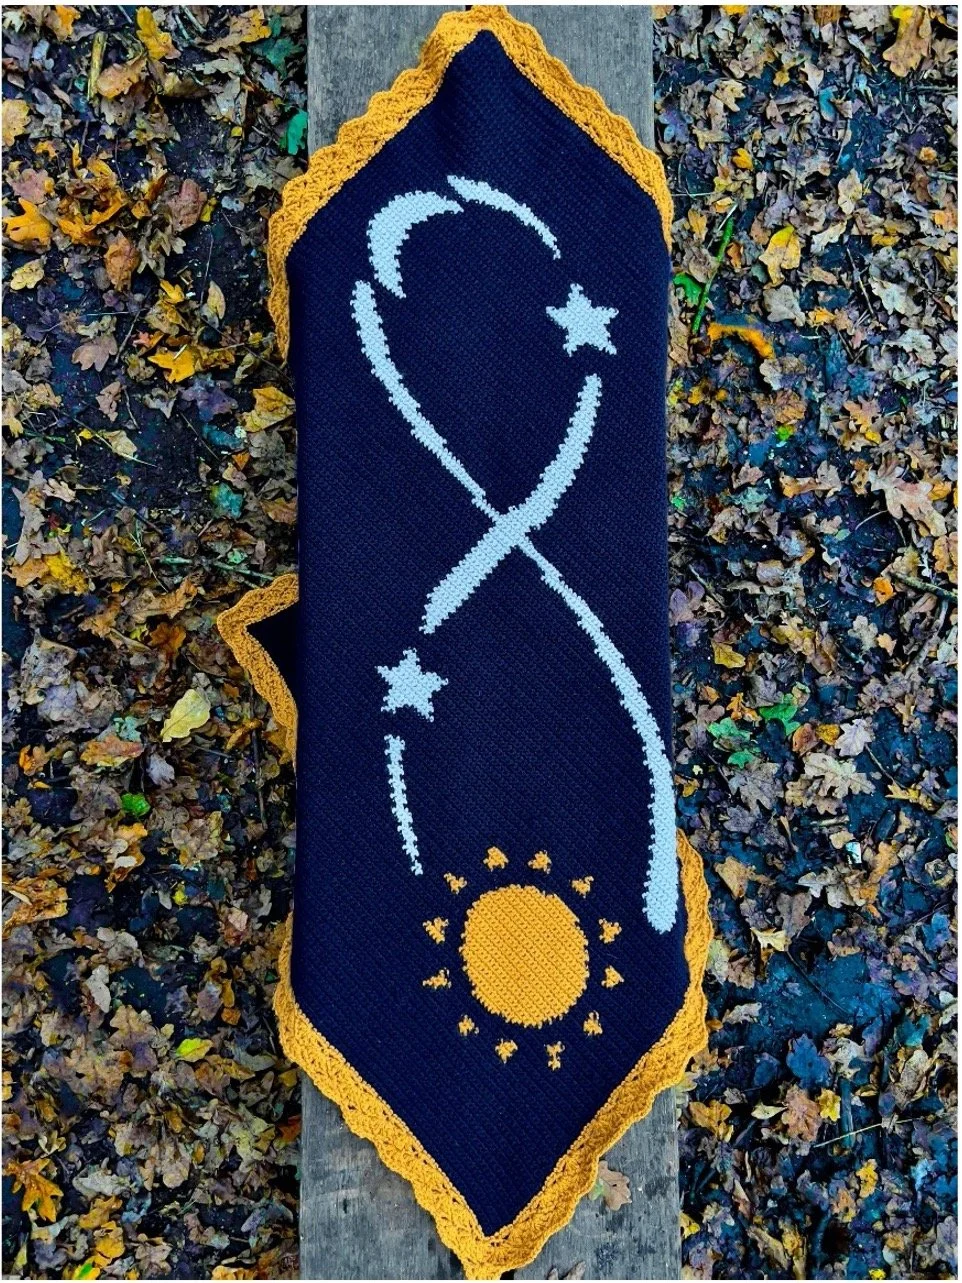
They add to the overall design - as mentioned above, the complexity of the border design you need might vary, but they always add that something special to the finished product.
They can add stability - does the stitch featured in your blanket tend to stretch or curl? A blanket border can help to stop this becoming an problem issue so that you can focus on enjoying your cosy wonder of yarn!
They conceal a multitude of sins - whether your stitch count accidentally varied a little, you’re not in the mood to weave in all those ends, or your blocking didn’t go quite right, the right border can help you to make these errors blend in and avoid notice.
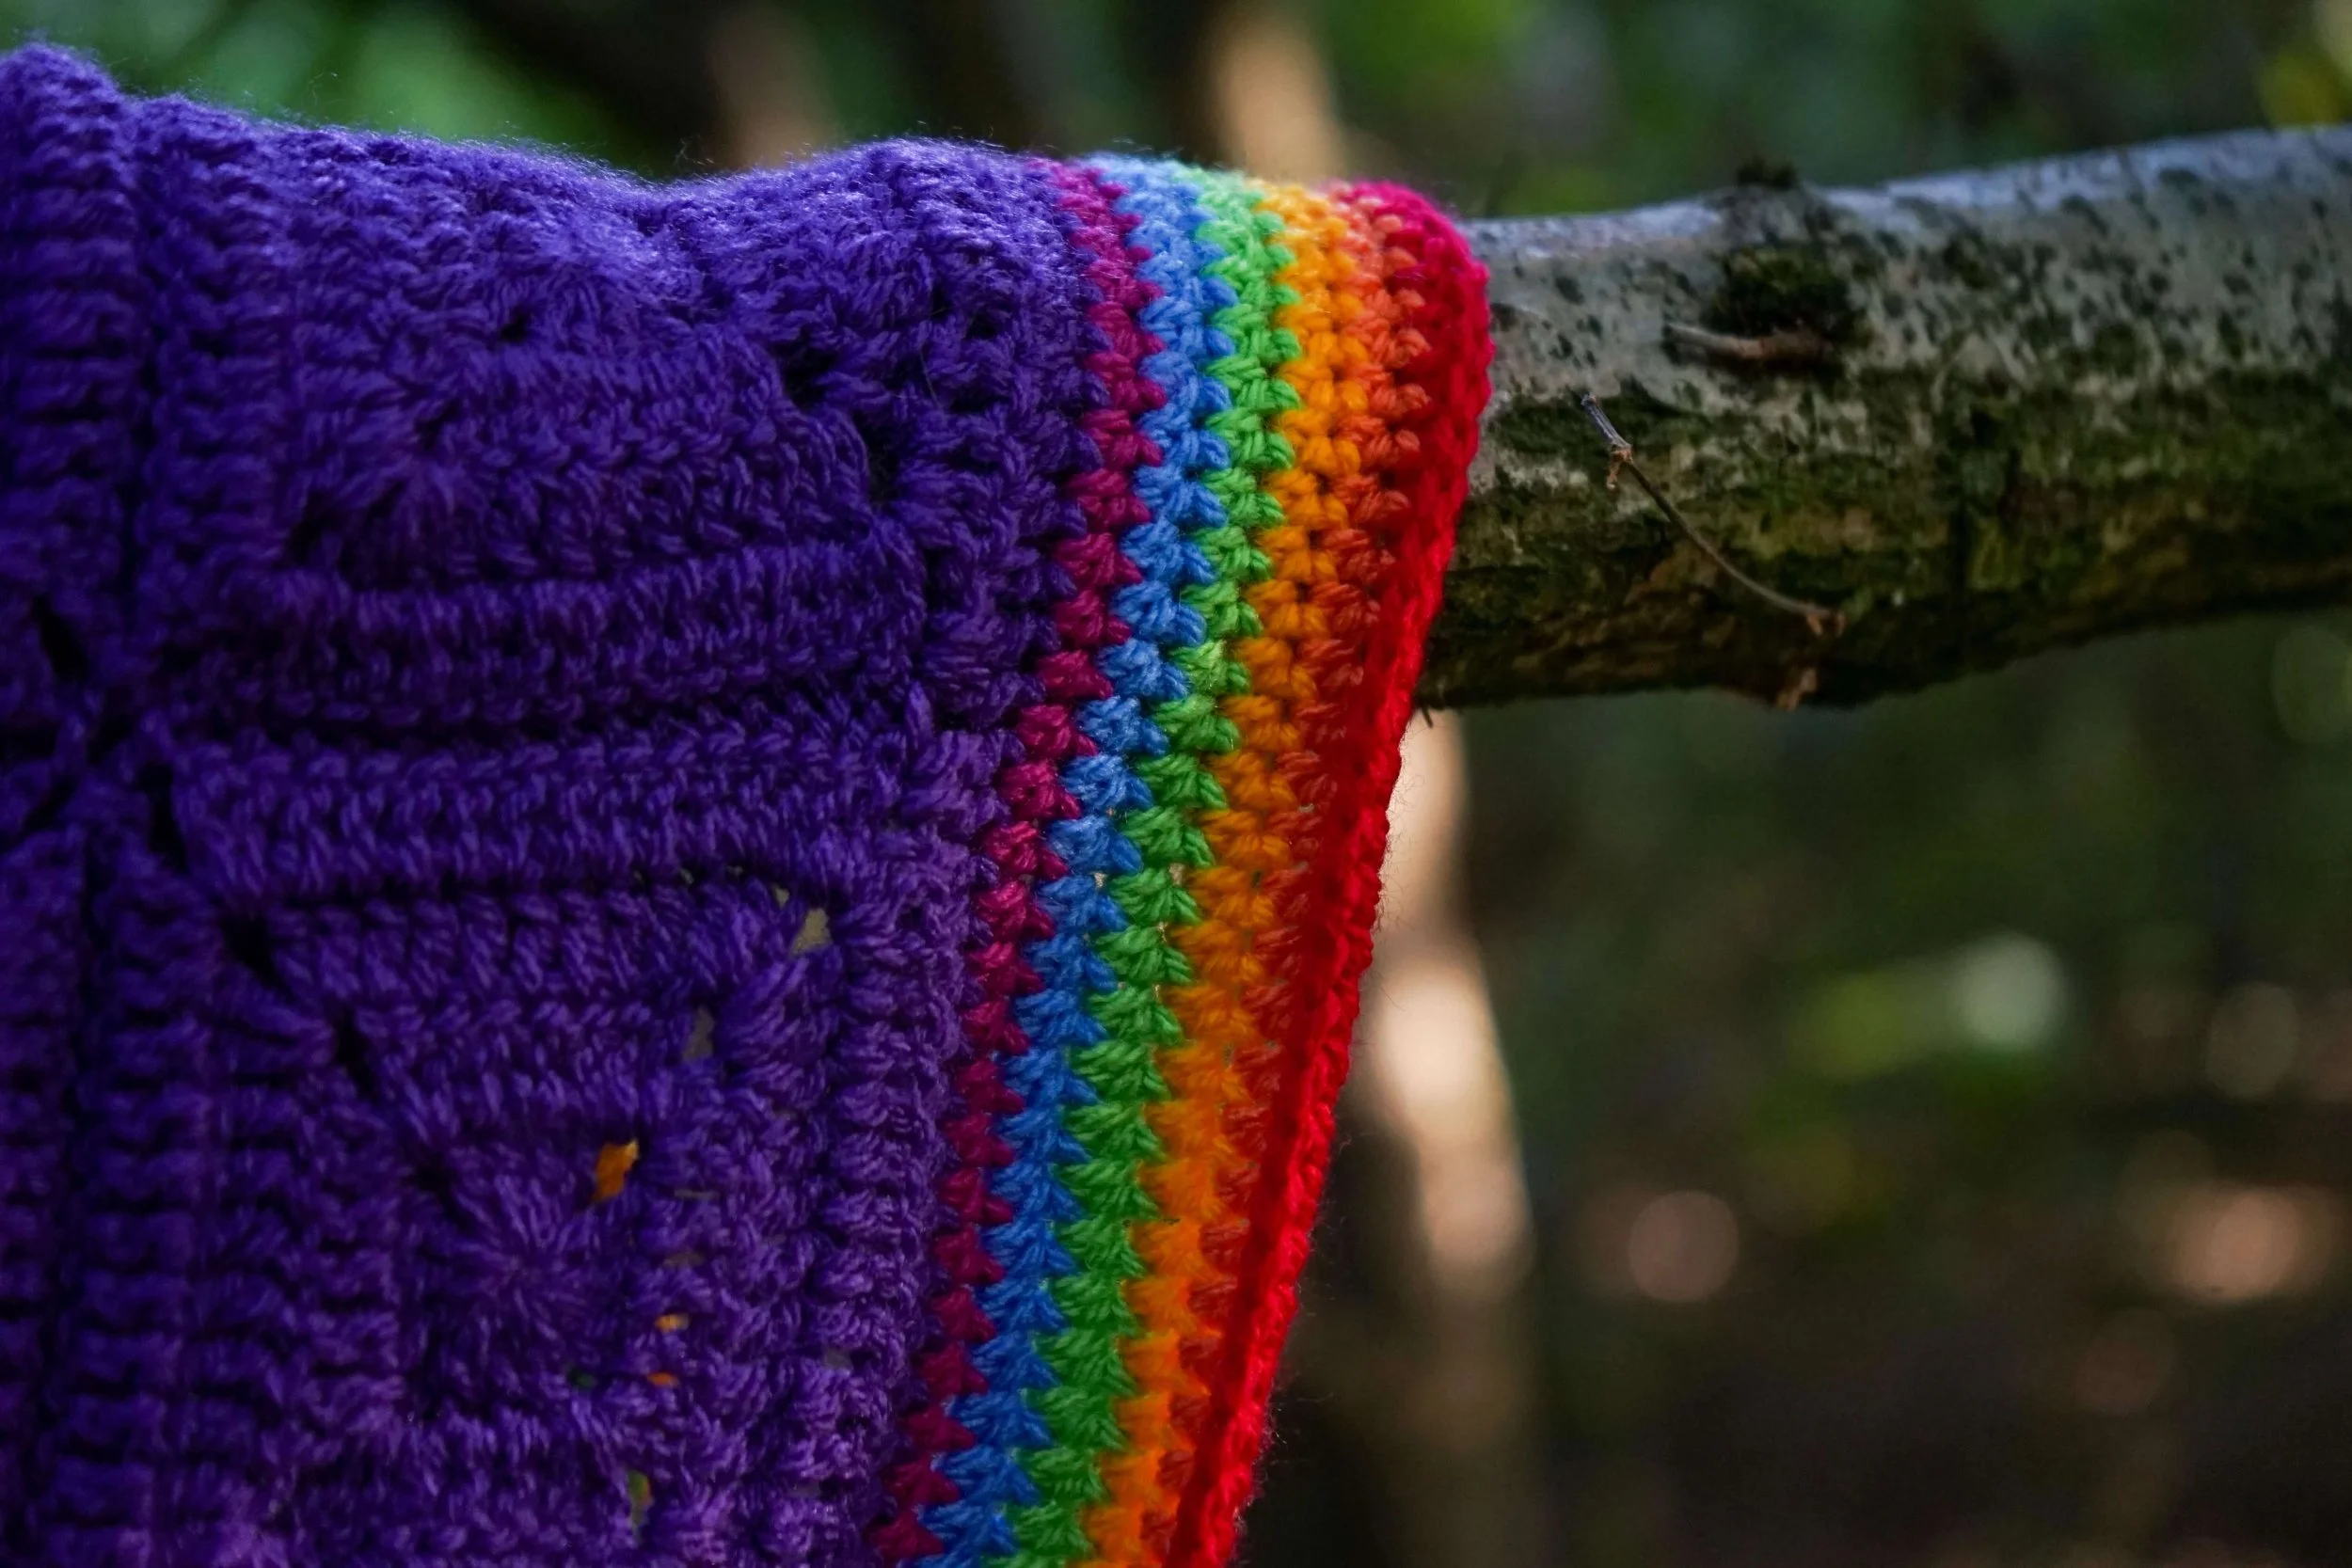
Half double slip stitch border on the left, and half double crochet border on the right.
So how do you pick the perfect border?
There are many factors that may influence your decision, from yarn weight to blanket size, from the colour and design of the blanket, to your individual preferences. Unfortunately not every border will suit every blanket.
Selecting the perfect crochet blanket border will take some practice and experimentation, but if you’re after a short cut check out project pages for your selected pattern on Ravelry, browse the desinger’s sample images, or ask in Facebook crochet groups. For example, I have created a group album for each of my crochet patterns inside the Elimee Designs Crochet Pattern group on Facebook.
Whichever border you choose, be sure to select a colour that complements, rather than detracts from, the overall design. You might want it to blend in with the colour palette, or stand out and frame the design. The choice is yours!
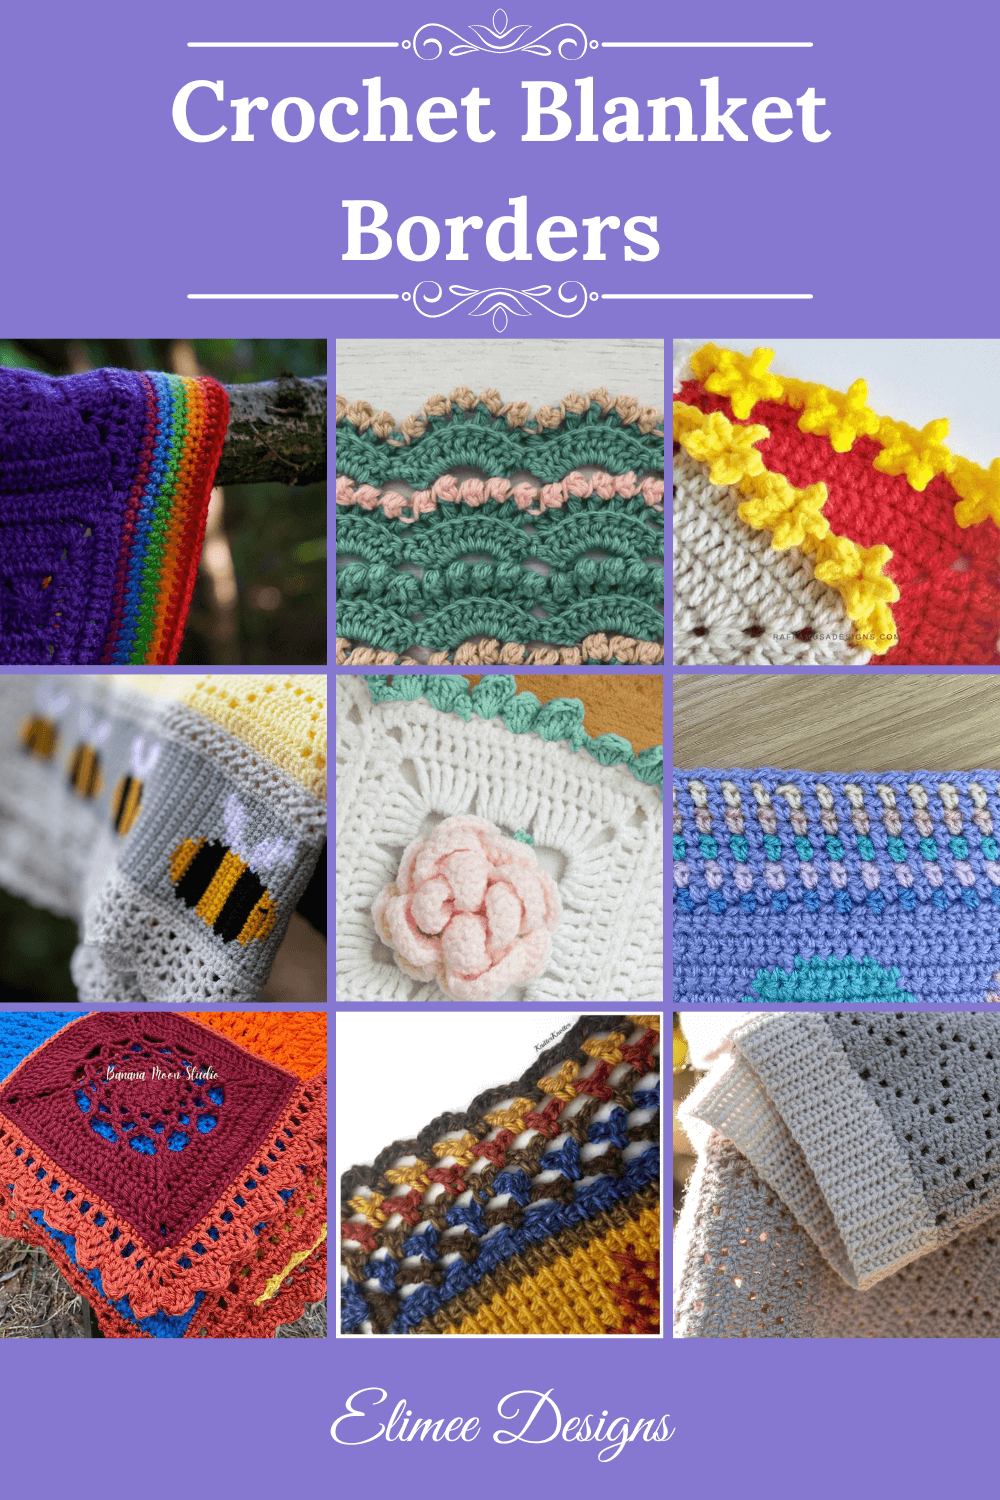
Pin this photo for later so that you can find these fabulous borders again!
***This page may include affiliate links - this means that I may earn a small commission if you purchase the product. This is at no additional cost to you. I will only recommend products that I have tried and tested myself, and that I like using. This income helps me to keep designing quality crochet patterns for you.***
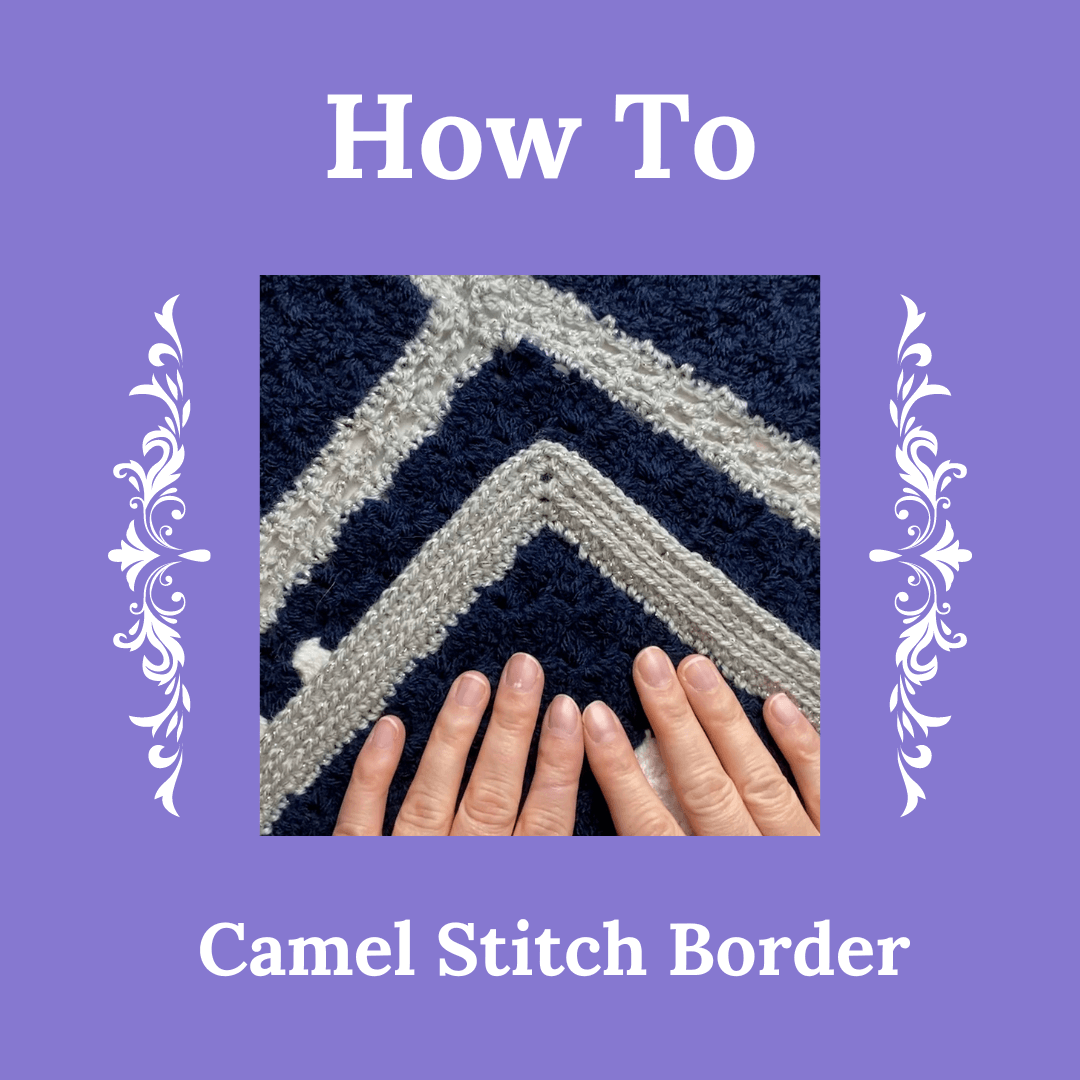
1. The Camel Stitch Border
Key points:
Beginner friendly.
One row repeat.
Quick to crochet.
Featured on my Festive Hygge Blanket.
Tutorial available here for this border.
2. Moss Stitch Border
Key points:
Beginner friendly.
One row repeat.
Quick to crochet.
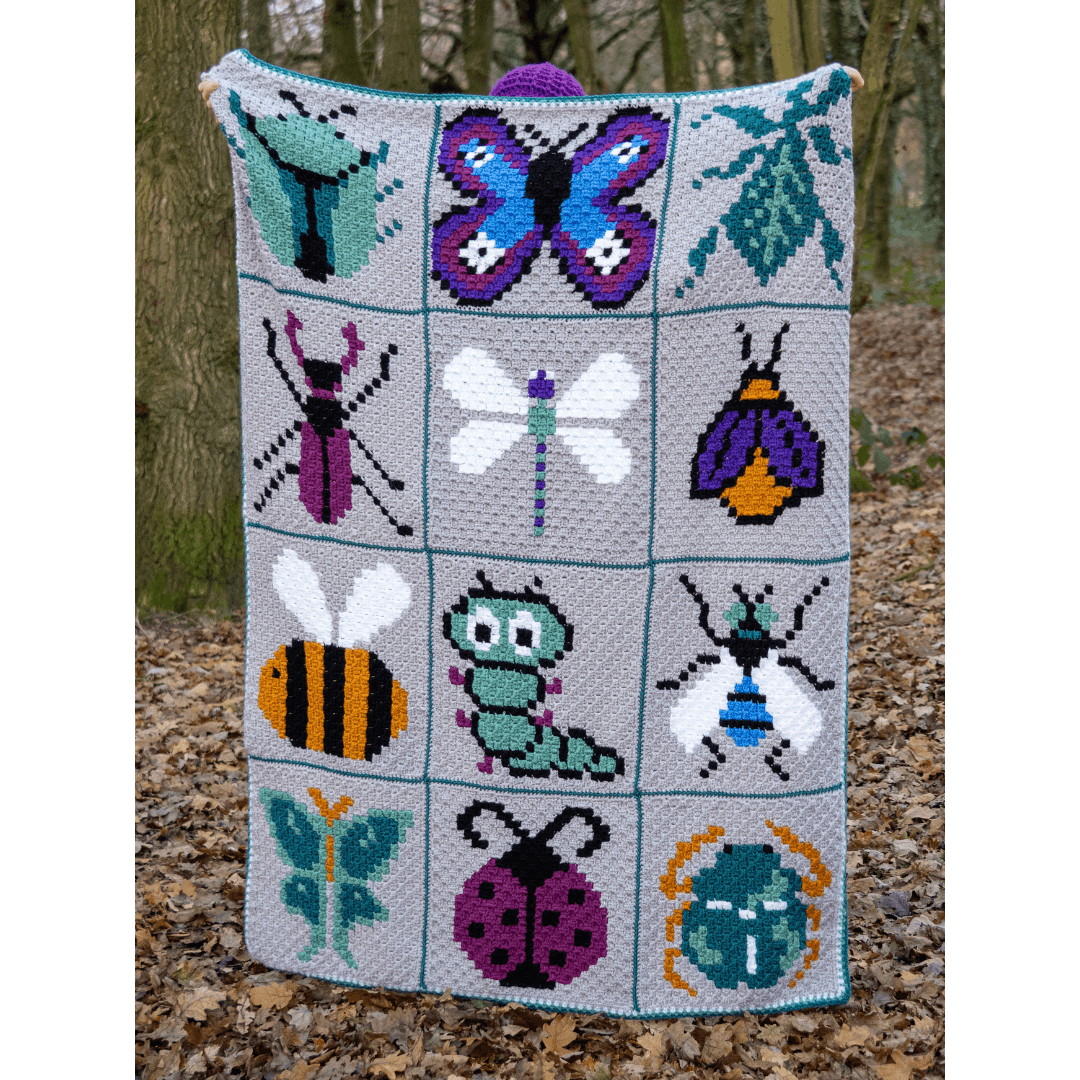
Featured on my Beautiful Bugs Blanket, Aphrodite C2C Blanket and So Eggstra Blanket.
Tutorial available here for this border.
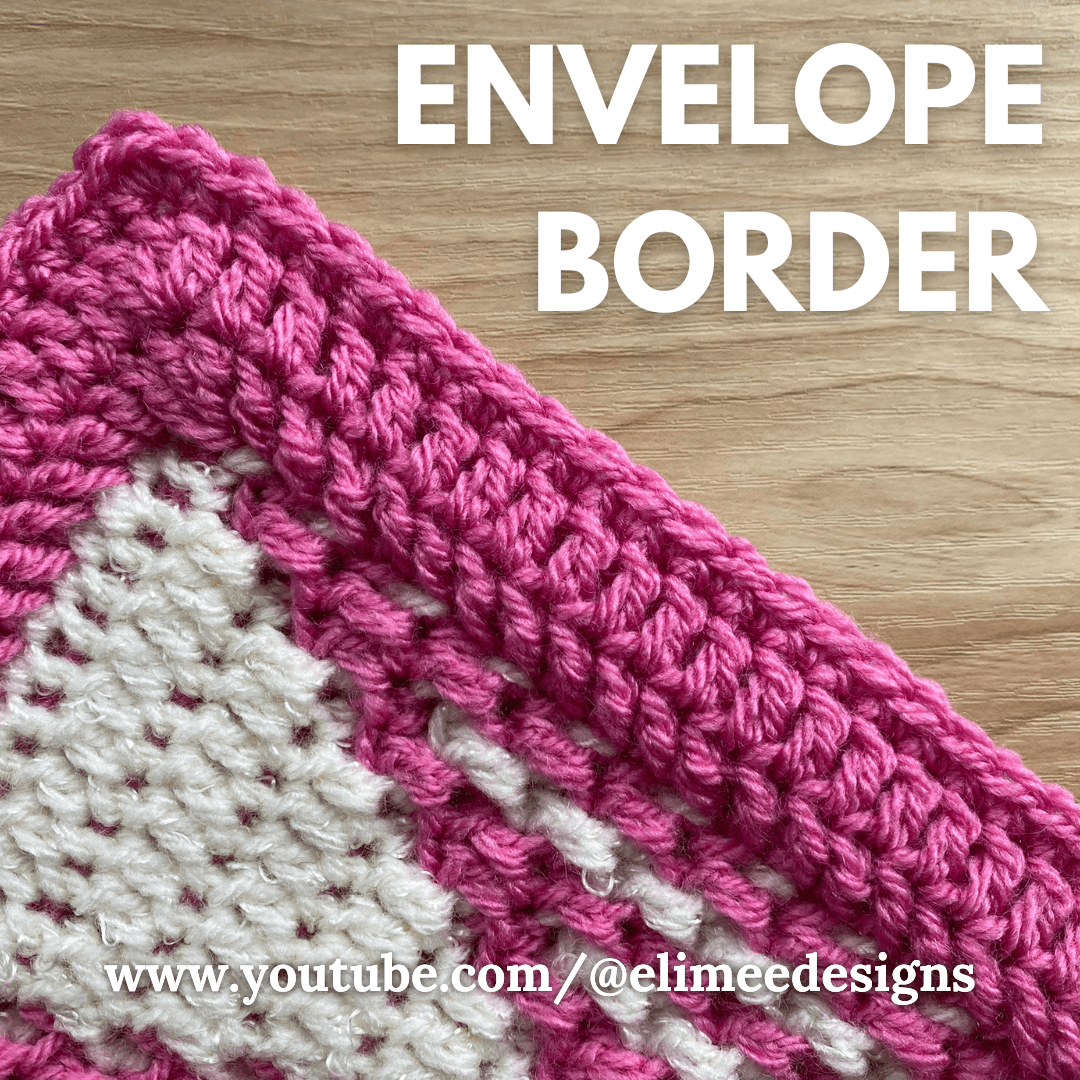
3. The Envelope Border
Key points:
Slightly trickier.
Only uses two stitches.
Slower to crochet.
Perfect to avoid weaving in lots of ends! This is especially helpful with mosaic crochet patterns.
4. The Half Double Slip Stitch Border
Key points:
Slightly trickier.
One row repeat.
Slower to crochet.
Featured on my Caitlin Zigzag Blanket.
Tutorial available here for the stitch.
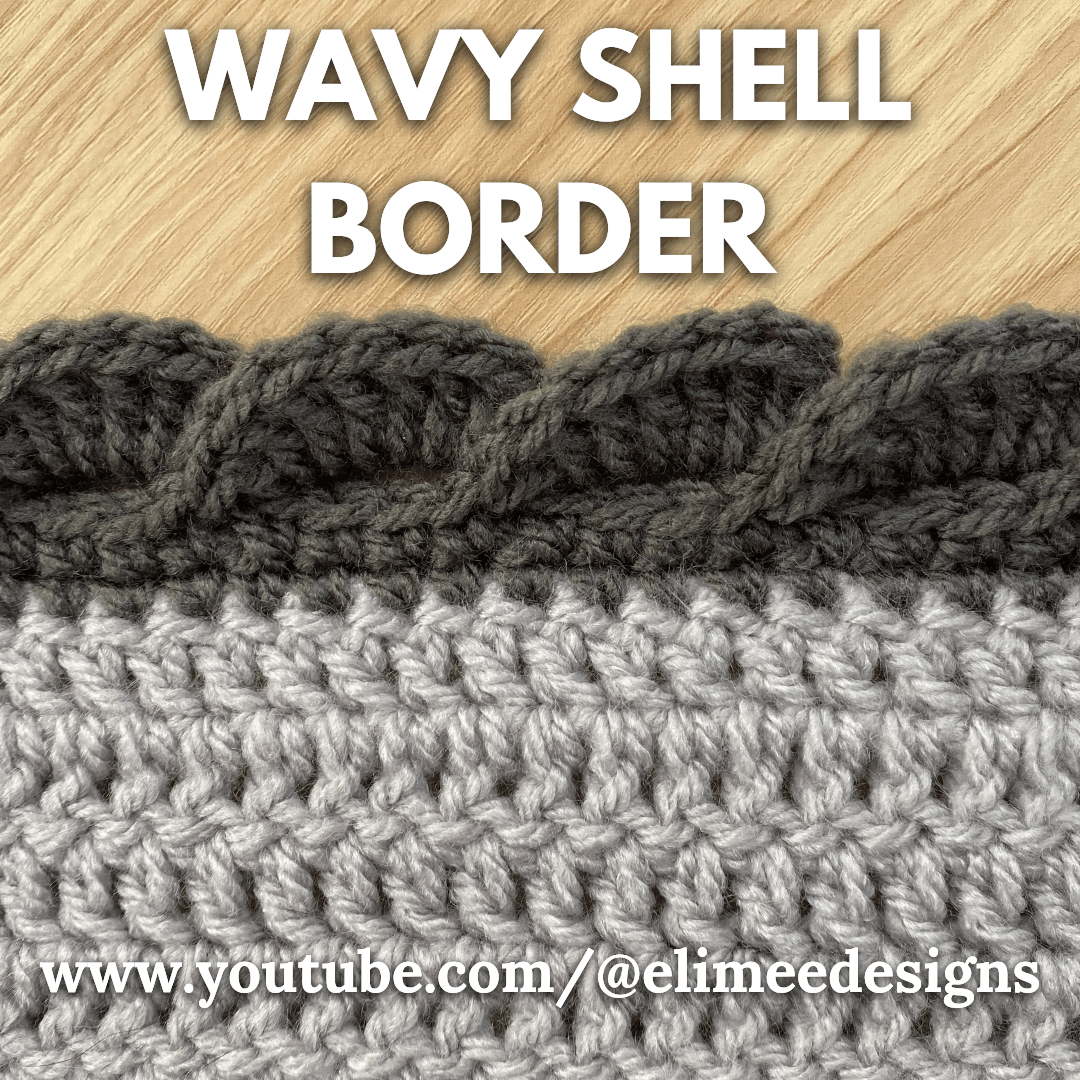
5. The Wavy Shells Border
Key points:
Beginner-friendly.
Only two rows.
Quick to crochet.
Featured on my Heart of Hearts Baby Blanket.
6. The Single Crochet Border
Key points:
Beginner friendly.
One row repeat.
Quick to crochet.
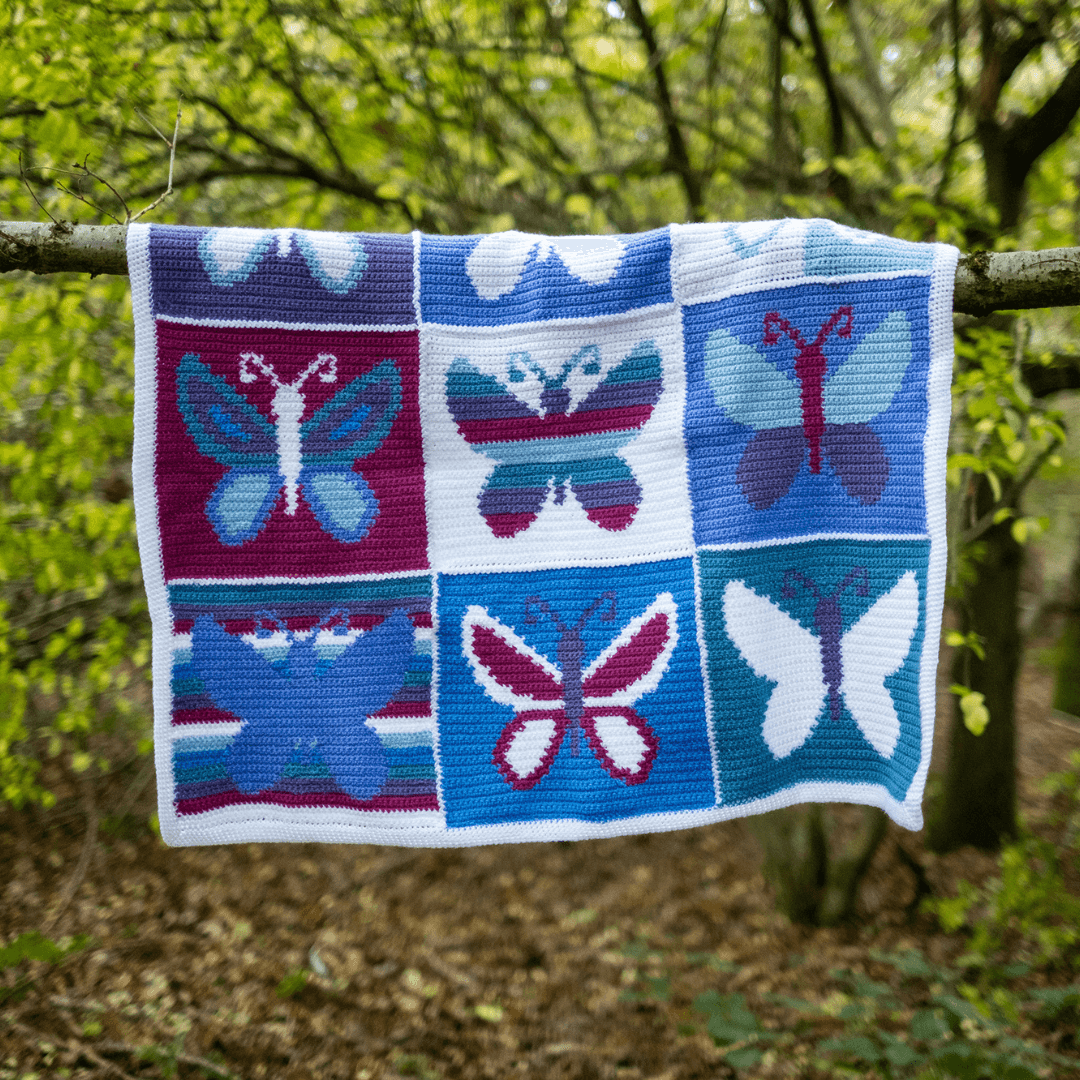
Featured on my Mariposa Butterfly Blanket, and Striped Colour Crush Blanket.
Tutorial available here for the stitch.
7. The Waggle Dance Bee Blanket Border
Key points:
Beginner friendly.
Combination of two stitches.
Quick to crochet.
Featured on my Waggle Dance Bee Blanket.
Are you in need of a blanket to showcase your selected border on?
Click on one of the designs below for more information.
8. The Mosaic Crochet Pumpkin Border
Key points:
Beginner friendly.
Combination of two stitches.
Quick to crochet.
Featured on my Citrouille Pumpkin Baby Blanket.
9. The Shell Stitch Border
Key points:
Beginner friendly.
Two row repeat.
Quick to crochet.
Featured on my Heavenly Hugs Baby Blanket.
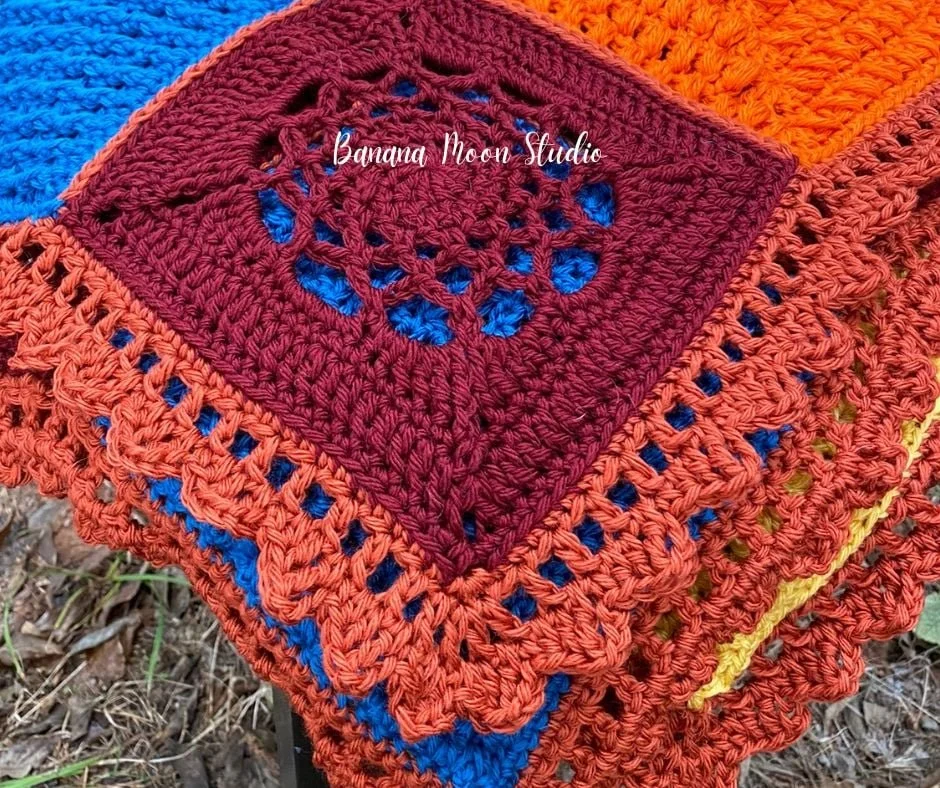
10. The ‘Sawtooth Crochet Edge’
Key points:
A little trickier.
Each row is different.
Slower to crochet.
Tutorial available here for the border (by Banana Moon Studio).
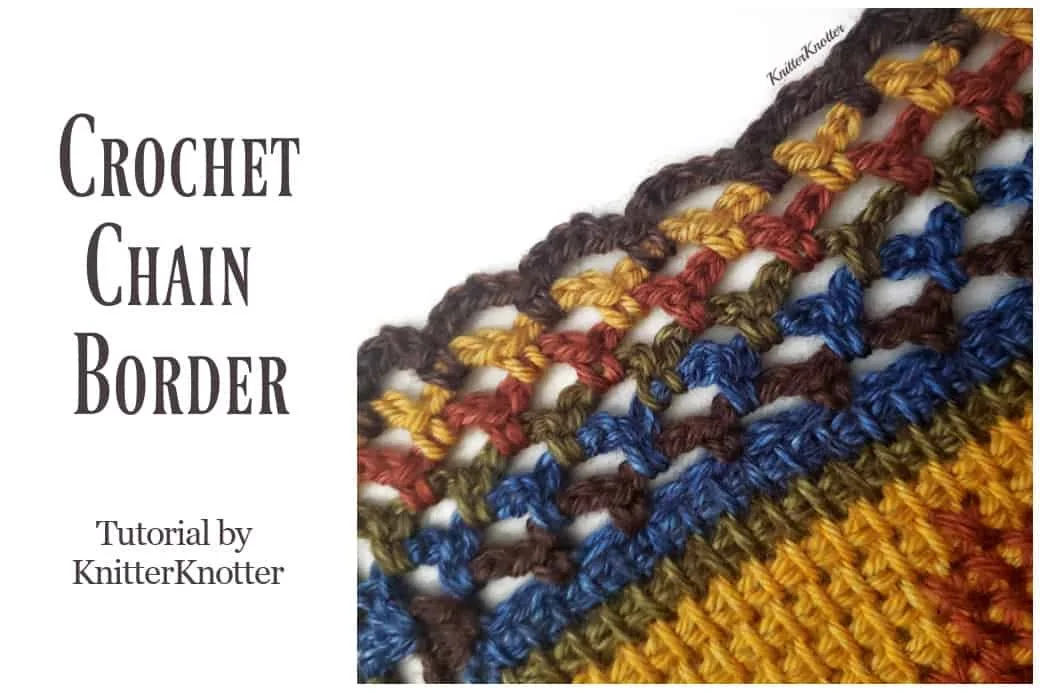
11. The Crochet Chain Border
Key points:
Beginner friendly.
One row repeat.
Quick to crochet.
Tutorial available here for the border (by Knitter Knotter).
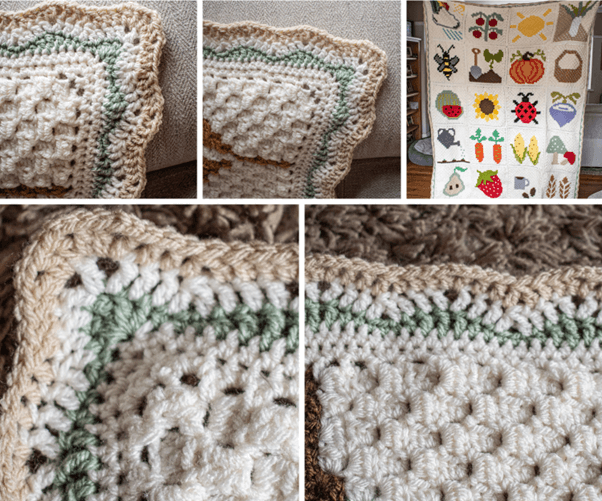
12. The ‘Little Stars’ Border
Key points:
A little trickier
A single row.
Slower to crochet.
Tutorial available here for the border (by Raffamusa Designs).
13. The ‘Berry Stitch Crochet Edging’
Key points:
A little trickier
A single row.
A little slower to crochet.
Tutorial available here for the border (by Made by Gootie).
14. A Wavy Border
Key points:
Beginner friendly.
Four rounds.
Quick to crochet.
Tutorial available here for the border (by Sunflower Cottage Crochet).
15. The ‘Leaf Border’
Key points:
A little trickier.
A single round.
Quick to crochet.
Tutorial available here for the border (by Yarn Andy).
So which border will you use to finish off your next beautiful blanket? Comment with your favourite below!
Check out these posts next!

