Mastering the Art of Blocking
Welcome to our crochet corner! Today, we're diving into the fascinating world of blocking crochet projects. If you've ever wondered how to transform your finished pieces into stunning, professional-looking creations, then blocking is the secret ingredient you've been missing. In this blog post, we'll explore what blocking is, its benefits, when it's necessary, essential equipment, and step-by-step instructions to achieve flawless results. So, grab your favorite crochet project and let's get started!
What is Blocking and Why is it Beneficial?
Blocking is a technique used to shape and refine your crochet projects by stretching or reshaping them to the desired dimensions. It smooths out uneven stitches, enhances stitch definition, and gives your finished work a polished and professional appearance. Beyond aesthetics, blocking also helps your projects maintain their shape over time and improves drape and fit. It's like giving your creations a spa treatment!
***This page may include affiliate links - this means that I may earn a small commission if you purchase the product. This is at no additional cost to you. I will only recommend products that I have tried and tested myself, and that I like using. This income helps me to keep designing quality crochet patterns for you.***
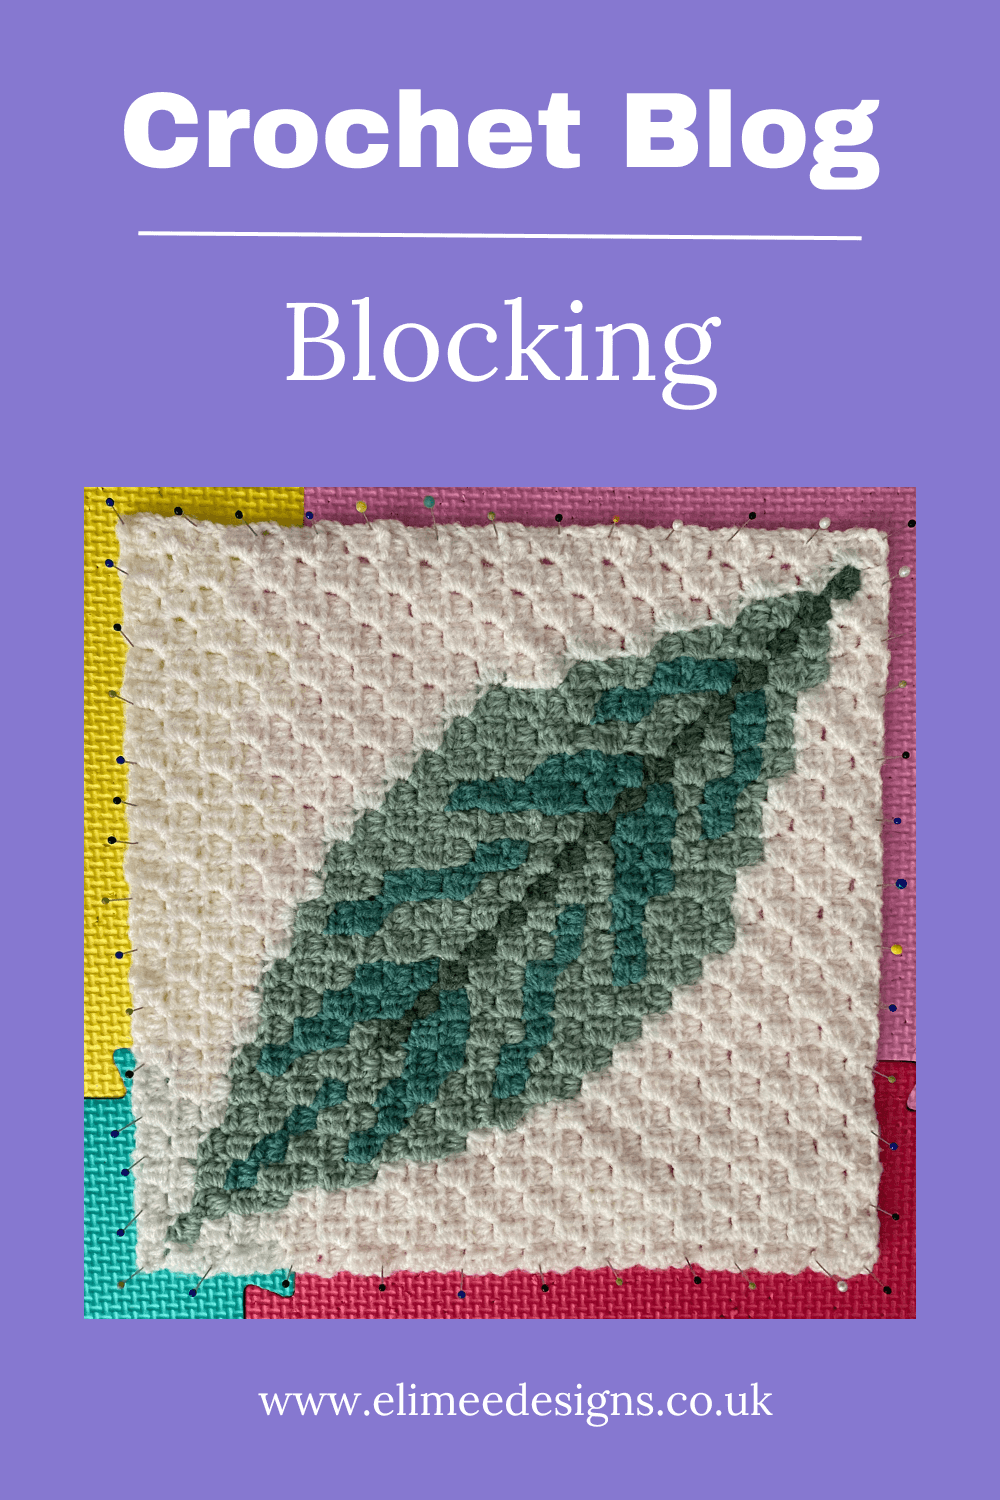
Pin the image below so that you can find this post again later :)
When Might Blocking Not Be Necessary?
While blocking is generally beneficial, there are instances when you might skip it. For small projects or projects made with stretchy or textured stitches that already have a desired shape, blocking may not be essential. Additionally, if you're using acrylic or other synthetic yarns, they often have memory and tend to retain their shape well without blocking. However, for most projects and natural fibre yarns like cotton, wool, or silk, blocking can work wonders.
Essential Equipment for Blocking:
Before we delve into the blocking process, let's make sure you have the right tools. Here's a list of essential equipment you'll need:
Blocking mats (affiliate link to Amazon) or towels: These provide a padded surface for pinning your project and allow moisture to be absorbed.
Rustproof T-pins or knit blockers (affiliate link to Amazon): These sturdy pins and/or blockers help secure your project to the blocking surface.
Measuring tape (affiliate link to Amazon): To ensure accurate blocking dimensions.
Spray bottle (affiliate link to Amazon): For misting water onto your project during blocking.
Steam iron or garment steamer (affiliate link to Amazon): Useful for steam blocking (depending on the yarn fibre).
Step-by-Step Guide to Blocking Crochet Projects:
Now that you have everything you need, let's dive into the three primary blocking techniques: washing, pinning, and steam blocking. Keep in mind that the techniques you choose depend on the type of yarn fibre you're working with. Here's a breakdown:
Washing and Wet Blocking:
a. Fill a basin or sink with lukewarm water and a mild detergent suitable for the yarn type.
b. Submerge your crochet project in the water, gently pressing it to ensure thorough saturation.
c. Let it soak for about 15-20 minutes.
d. Gently squeeze out excess water and lay the project flat on a clean towel.
e. Roll the towel, pressing gently to remove more moisture.
f. Lay the project on the blocking mat or towel, gently stretching it to the desired shape and dimensions.
g. Pin the project to the mat, starting at the edges and working your way inward.
h. Allow it to dry completely before unpinning. This may take a day or two depending on the yarn and climate.
i. Remember, for some yarn fibres, like cotton or bamboo, washing may be required after each use, which means re-blocking may be necessary.
The Technicolour Tile Coaster - this project was made with cotton yarn, which lends itself well to blocking via the washing or pinning method.
Pinning and Spraying:
a. Lay your project on a clean blocking mat or towel.
b. Gently stretch it to the desired dimensions.
c. Pin the edges of your project, placing the T-pins approximately 1-2 inches apart.
d. Fill a spray bottle with water and mist the project until it's damp but not saturated.
e. Allow it to dry completely before unpinning. Again, drying times vary based on yarn type and humidity.
Steam Blocking:
a. Lay your project on the blocking mat or towel.
b. Gently stretch it to the desired dimensions.
c. Pin the edges of your project, placing the T-pins approximately 1-2 inches apart.
d. Hold the steam iron or garment steamer about 1-2 inches above your project, allowing the steam to penetrate the fibres. Be sure to steam the entire surface, applying steam evenly.
f. Avoid direct contact with the iron or steamer to prevent damage to delicate yarns.
g. After steaming, let your project cool and dry before unpinning.

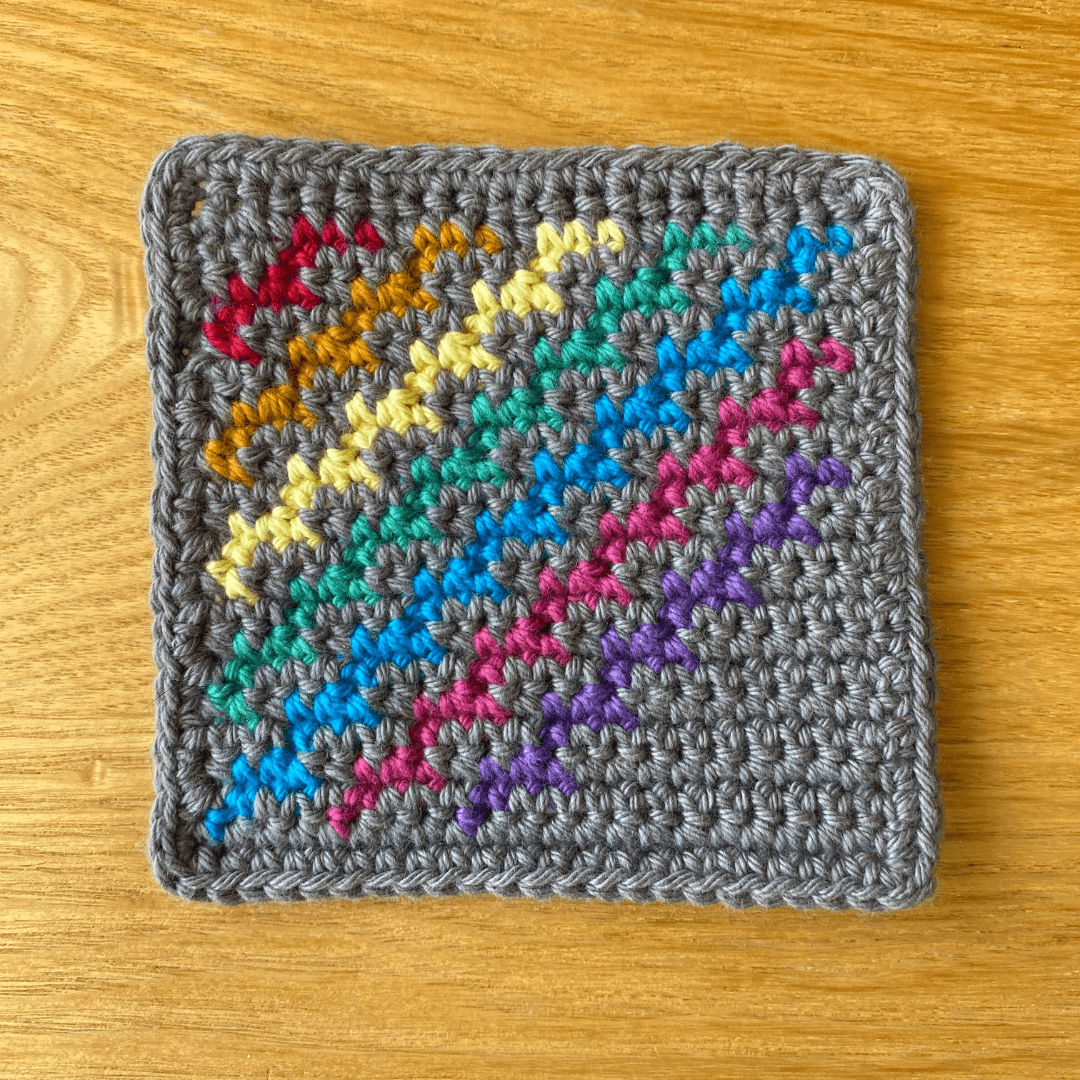
The Slalom Square - crocheted with acrylic yarn, which is best blocked using the steam method.
Congratulations, you've now mastered the art of blocking! By incorporating this technique into your crochet routine, you'll elevate your projects to new heights. Remember, blocking is especially beneficial for natural fibre yarns and larger projects, but feel free to experiment and find what works best for you. We hope you've found this guide helpful and inspiring. Now it's your turn—have you tried blocking before? Share your tips and experiences in the comments below. Happy blocking, fellow crochet enthusiasts!
Happy crocheting!
If you have enjoyed this blog post you might like these too: